A step-by-step walkthrough for exam centres: set up the Admin server, connect Client PCs,
activate your subscription, manage candidates and exams, then deliver live CBT sessions.
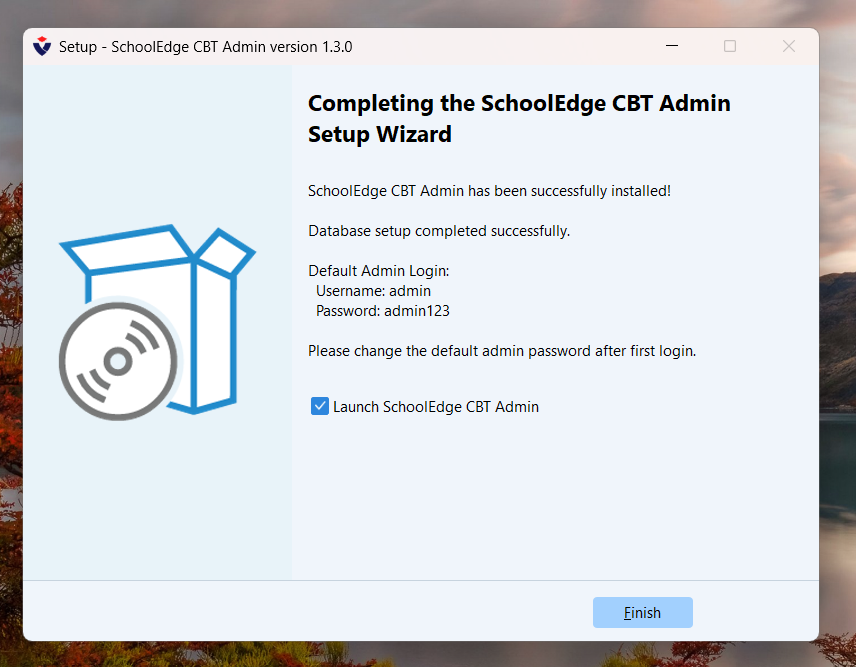
Default Admin login (first install):
Username admin · Password admin123.
Change this password immediately after your first login.
3. Sign in to the Admin application
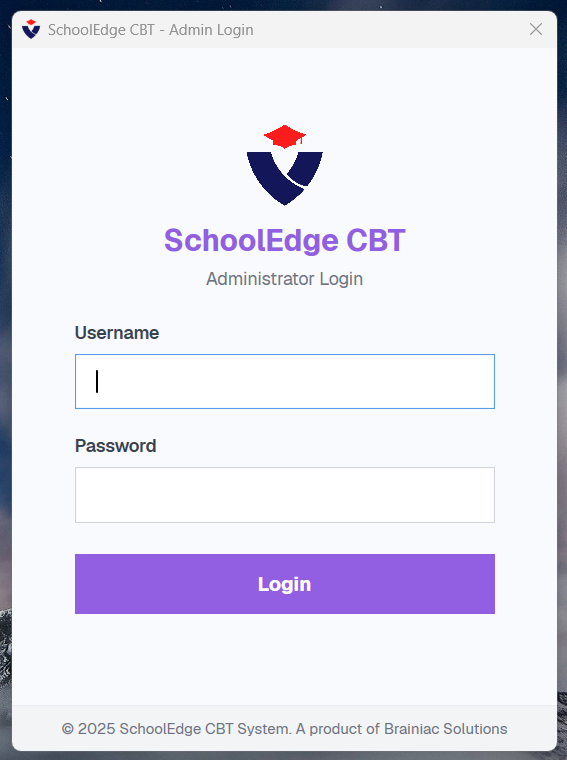
Open SchoolEdge CBT Admin. On the Administrator Login screen, enter your username and password, then click Login.
Admin login window
4. Activate your subscription account
Full centre features require a valid SchoolEdge subscription account (created on this website).
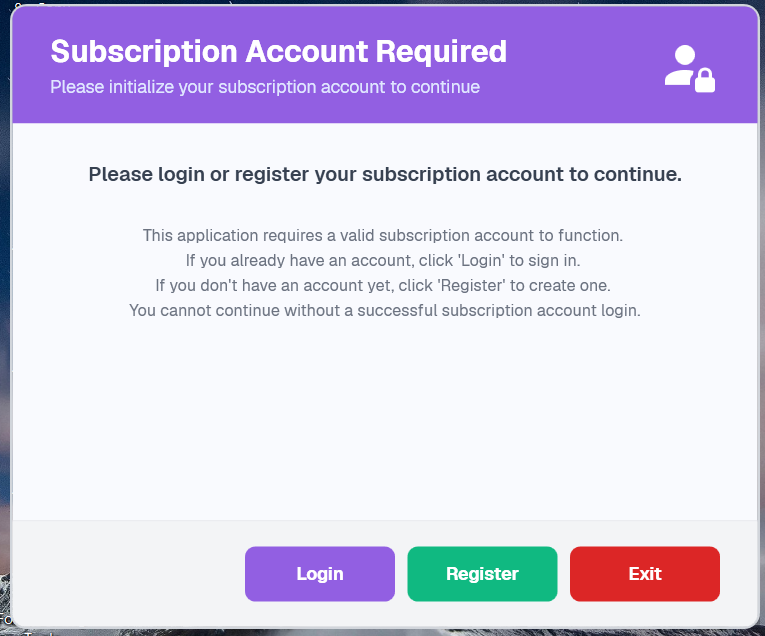
After install, the Admin app may prompt you to initialise that account before continuing.
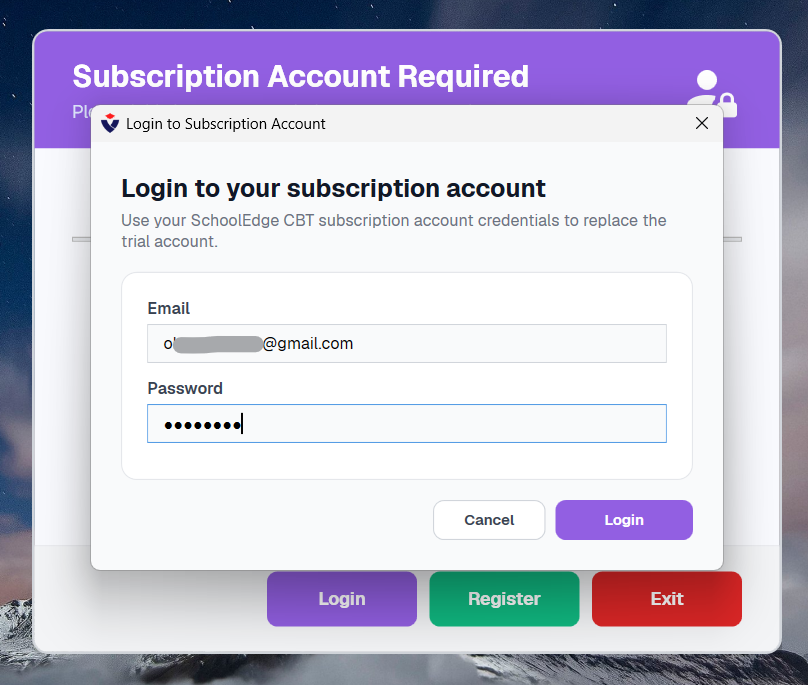
Subscription required prompt
Login with your web subscription email
If you already registered on the website, click Login and enter your subscription email and password.
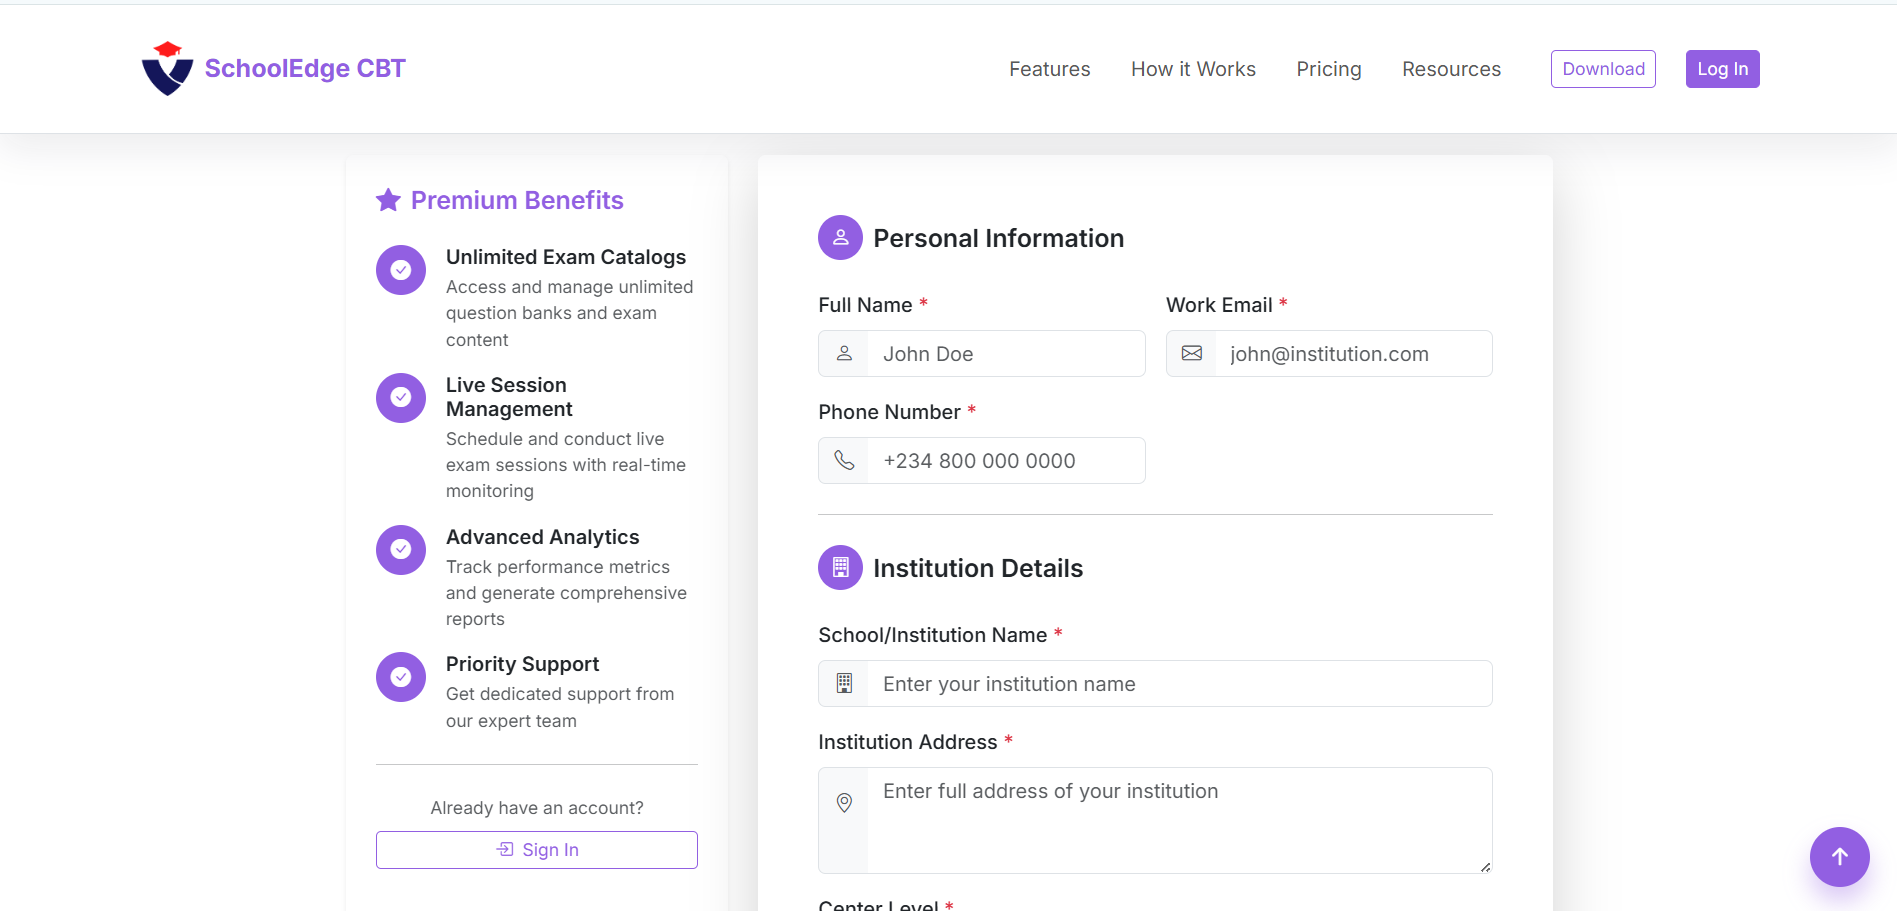
If you are new, click Register and complete the registration form (or register on this website first, then return to Login).
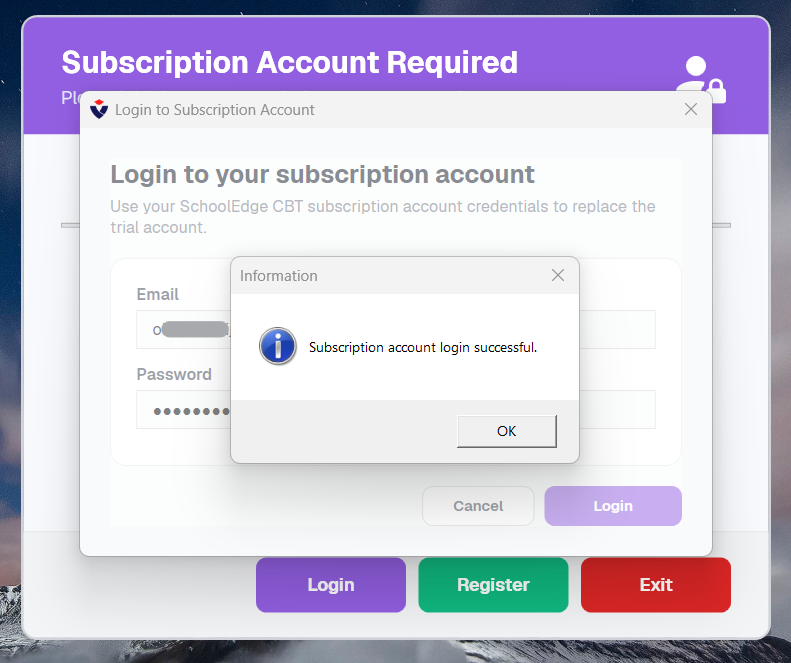
Confirm the account when prompted. A successful login unlocks licensed features for your centre.
In-app registration form
Confirm subscription login
Prefer the website? Create an account,
choose a plan, then return to the desktop app and log in with the same credentials.
5. Understand the Admin dashboard
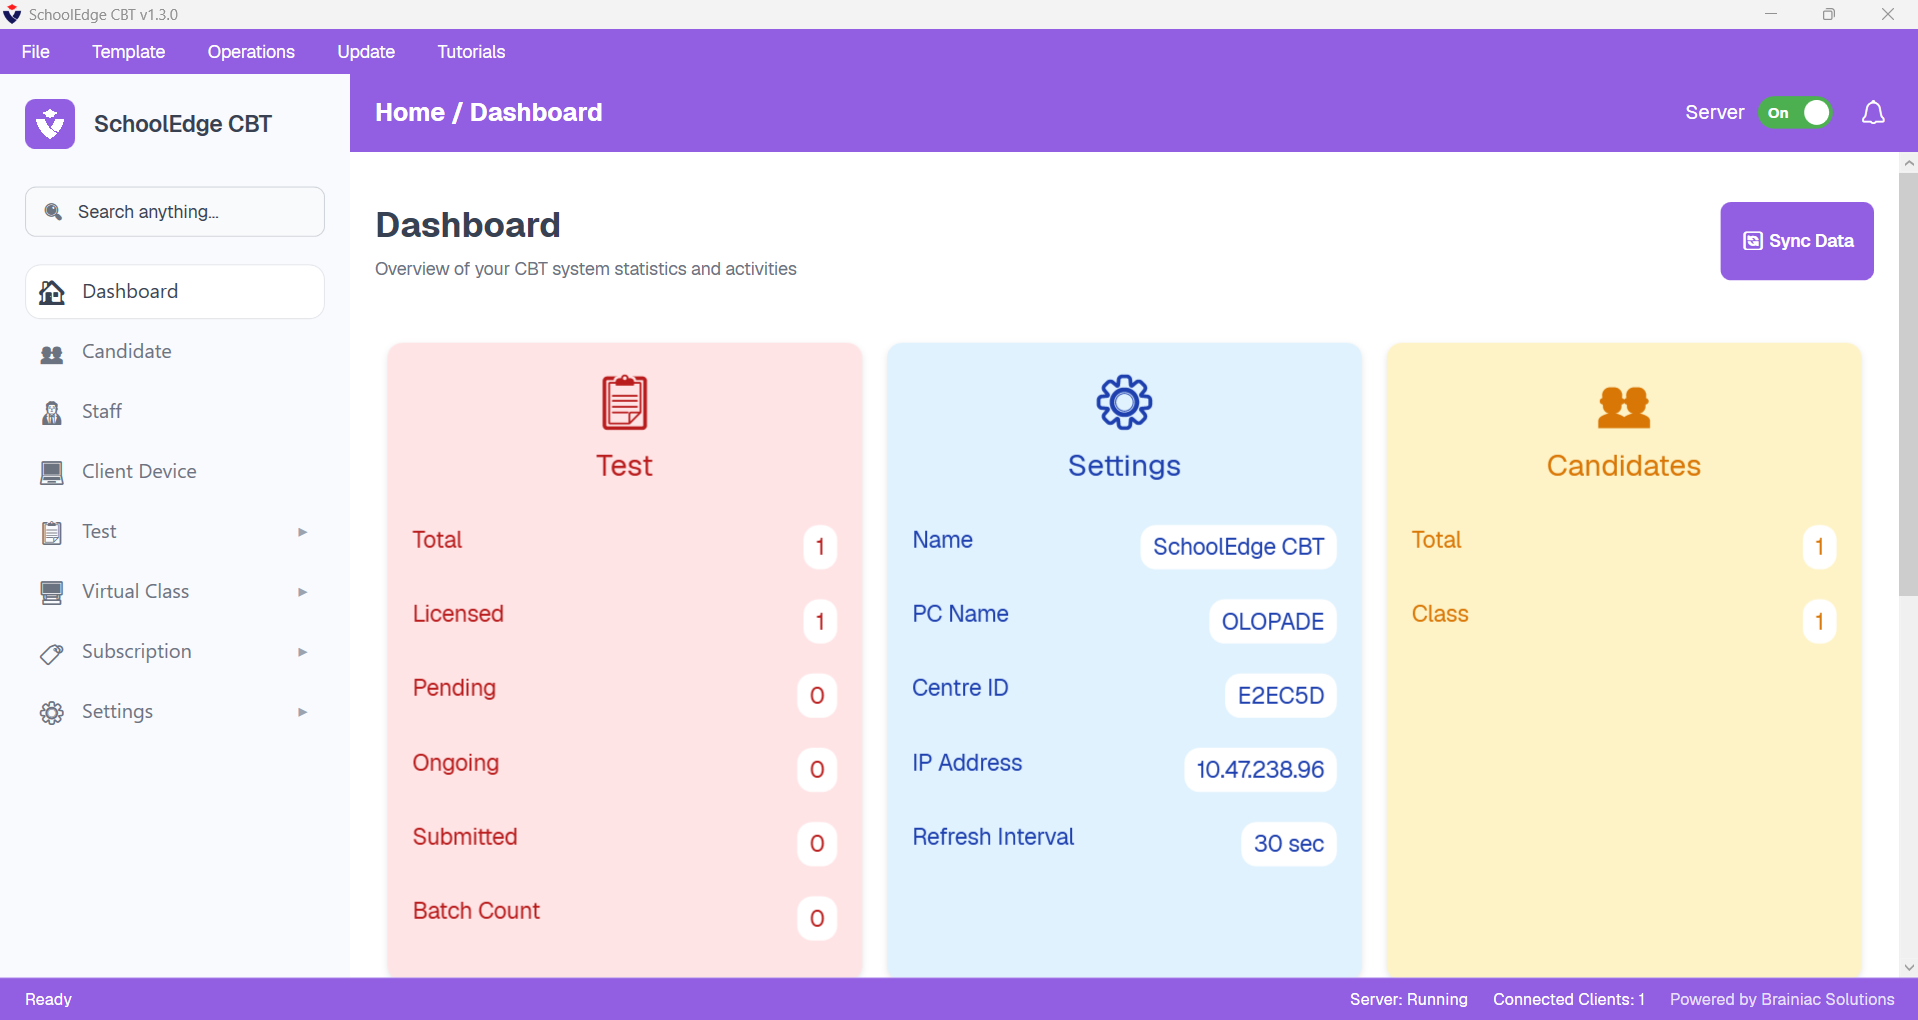
After login you land on the Admin dashboard — an overview of tests, candidates, and this PC’s network identity.
Dashboard with Server toggle, IP address, and live stats
Server toggle (top right): Keep this On whenever candidates need to connect.
IP Address: Shown in the Settings summary card — use this on every Client PC.
Sync Data: Refresh catalogues and records when you update questions or candidates.
Footer: Shows server status and how many clients are connected.
6. Manage staff and candidates
Use the Admin sidebar to register exam officers and candidates before exam day.
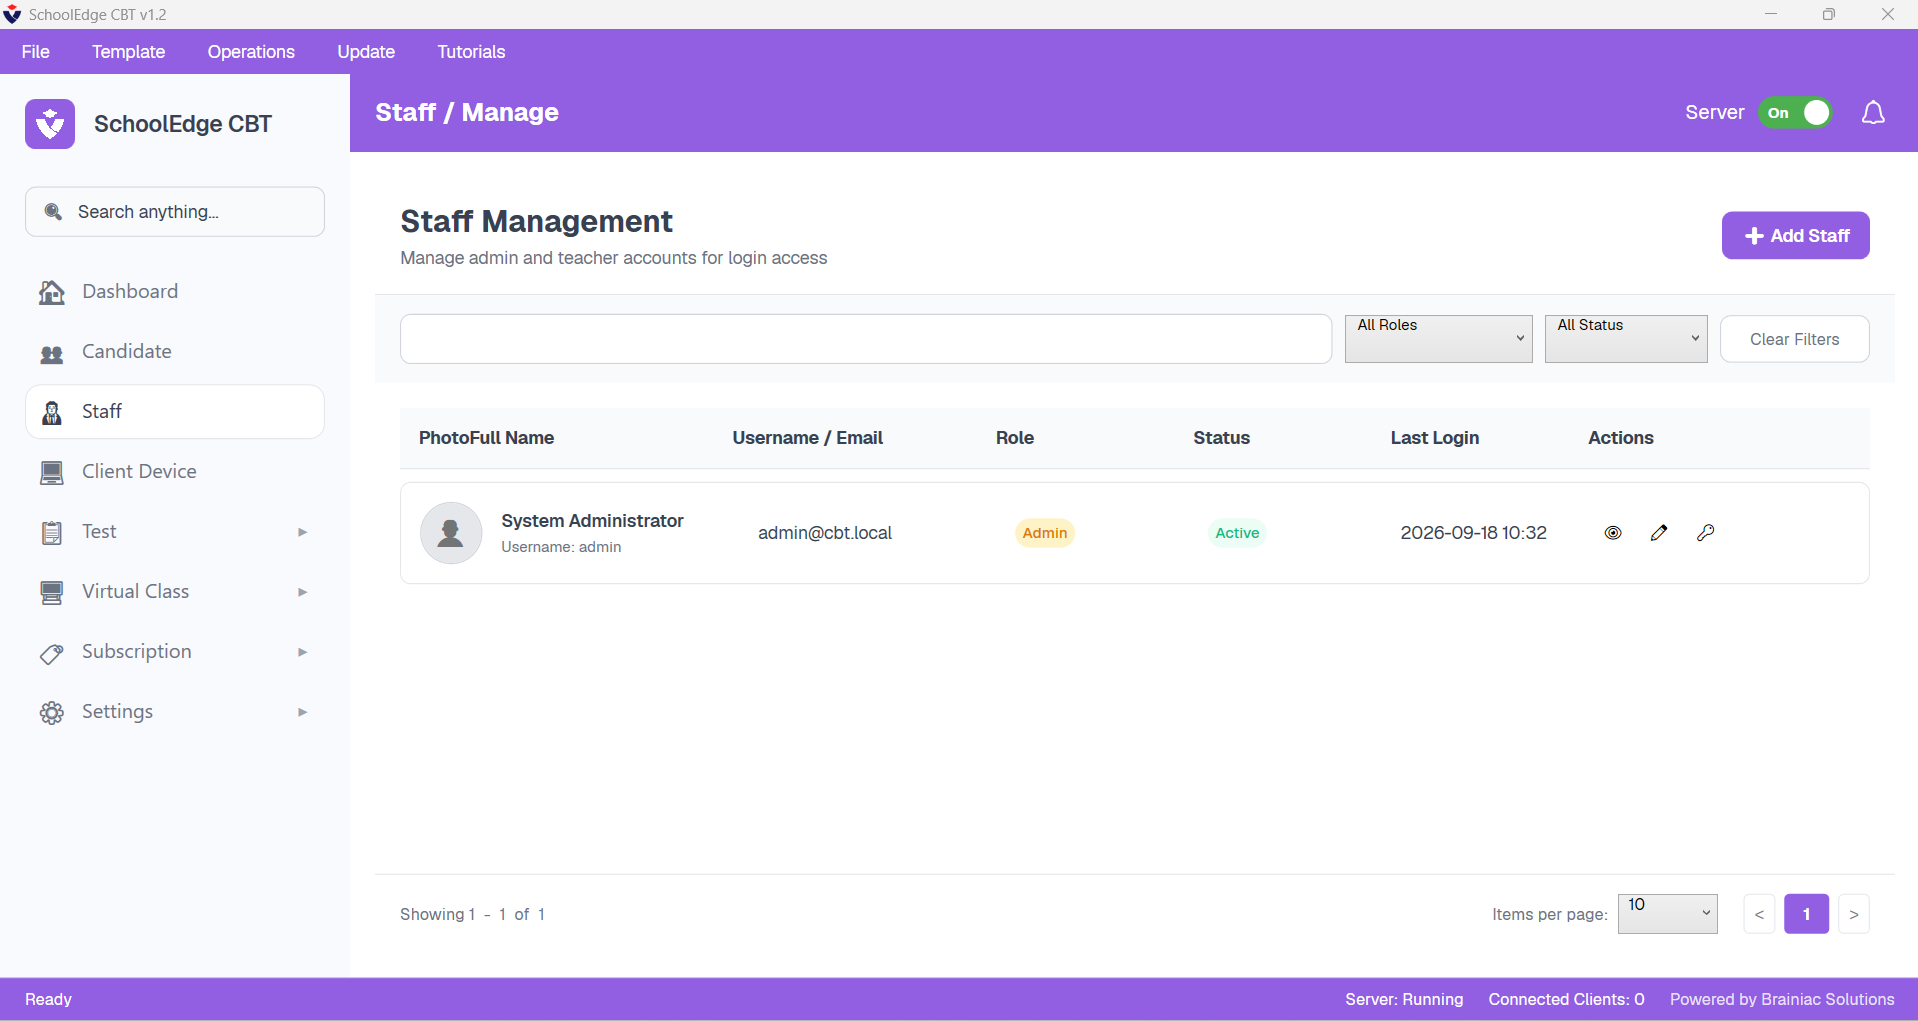
Staff management — add exam officers and roles
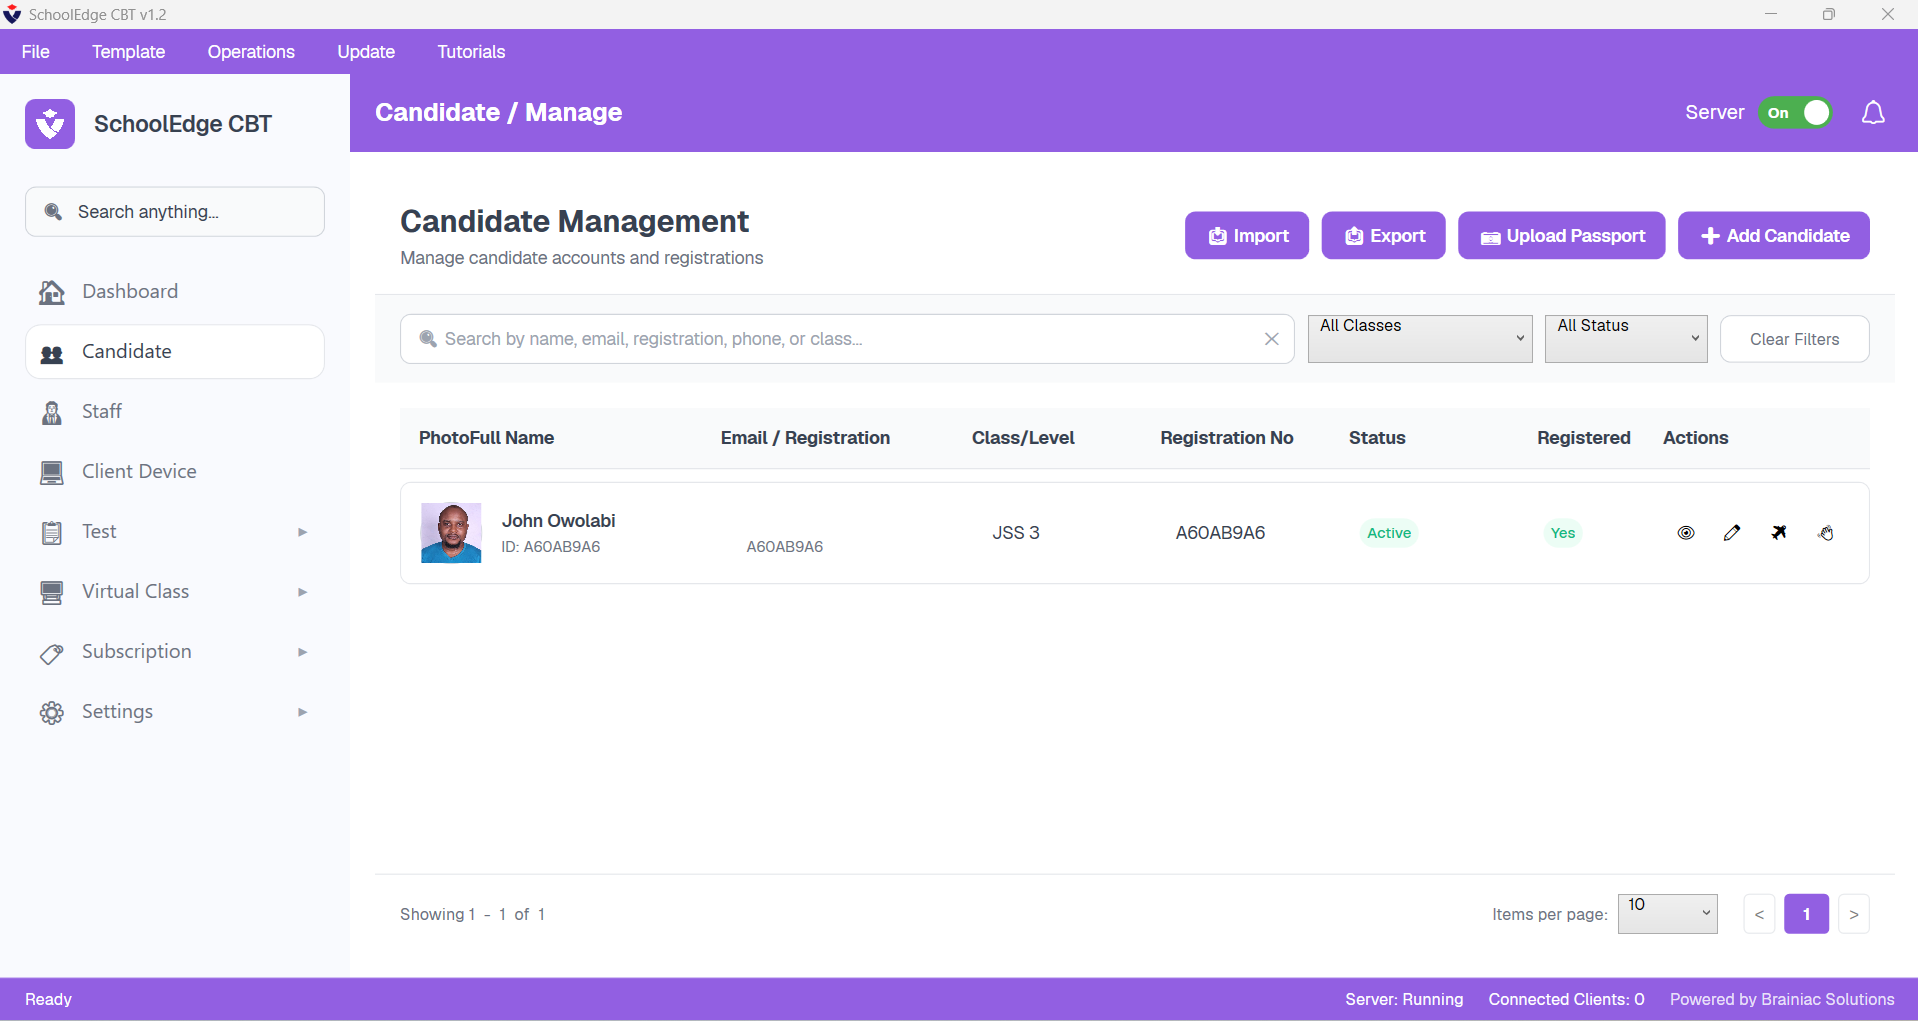
Candidate management — register and organise candidates
Open Staff to create accounts for invigilators or centre officers.
Open Candidate to add candidates individually or in bulk (where supported).
Assign classes/groups so you can filter candidates when scheduling tests.
7. Configure exams and client devices
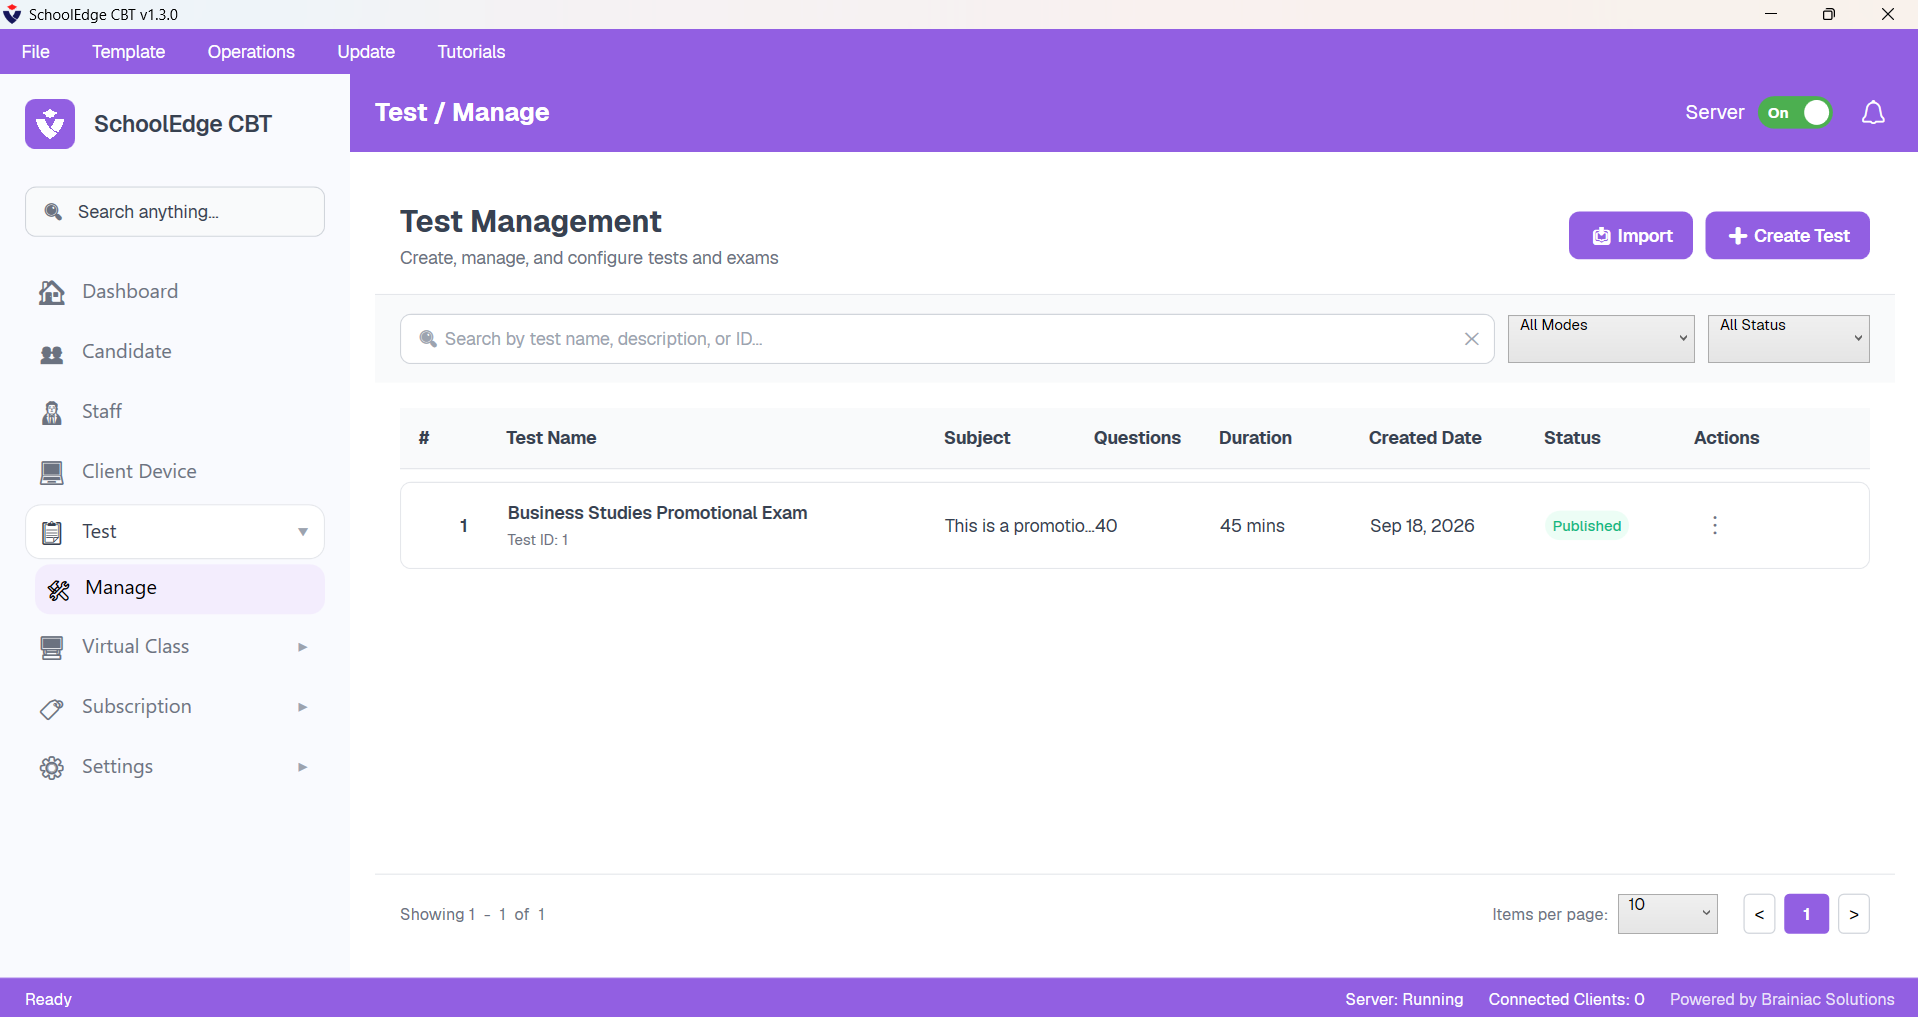
Test management — create and schedule exams
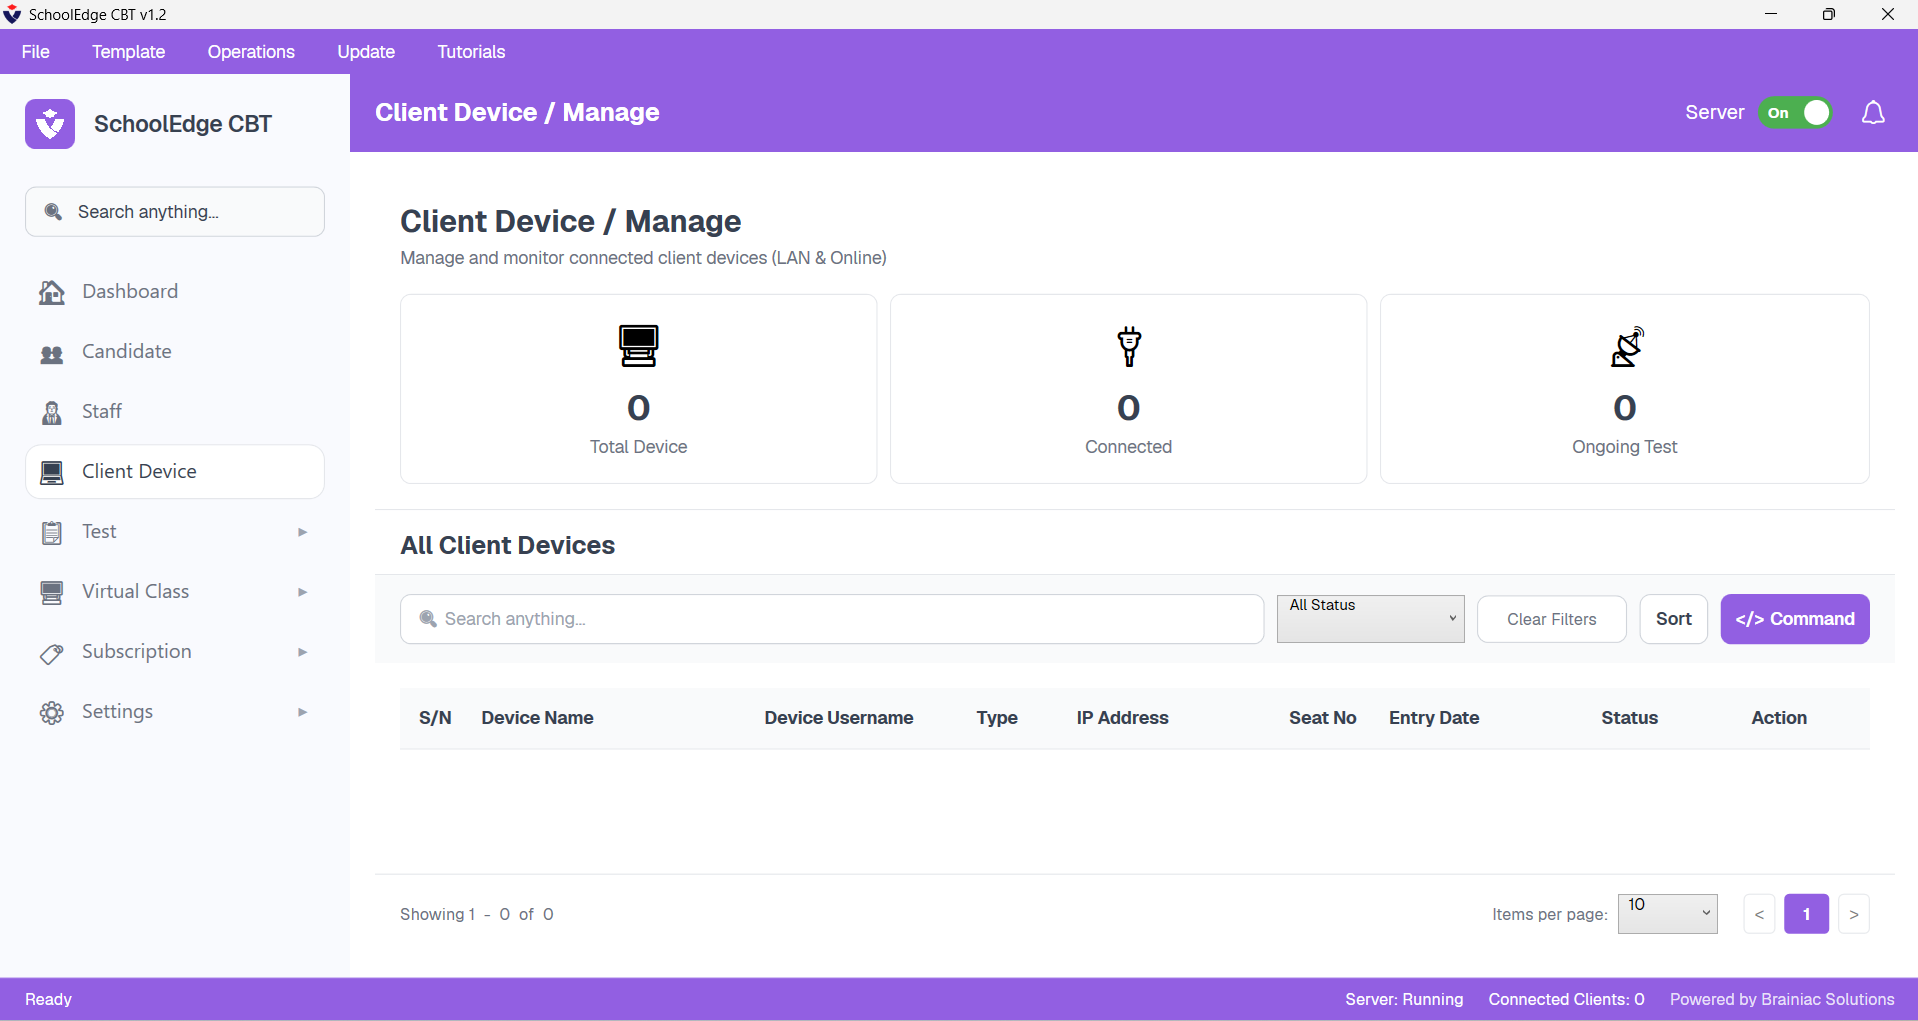
Client Device — monitor connected exam PCs
Under Test, create or import question papers, set duration, and publish the exam.
Under Client Device, review which seats are online and ready.
Confirm the Admin server remains Running before admitting candidates.
8. Connect Client PCs to the Admin server
On each candidate machine, open the SchoolEdge CBT Client app and point it at the Admin IP.
Note the Admin IP from the Admin dashboard (example format: 10.x.x.x).
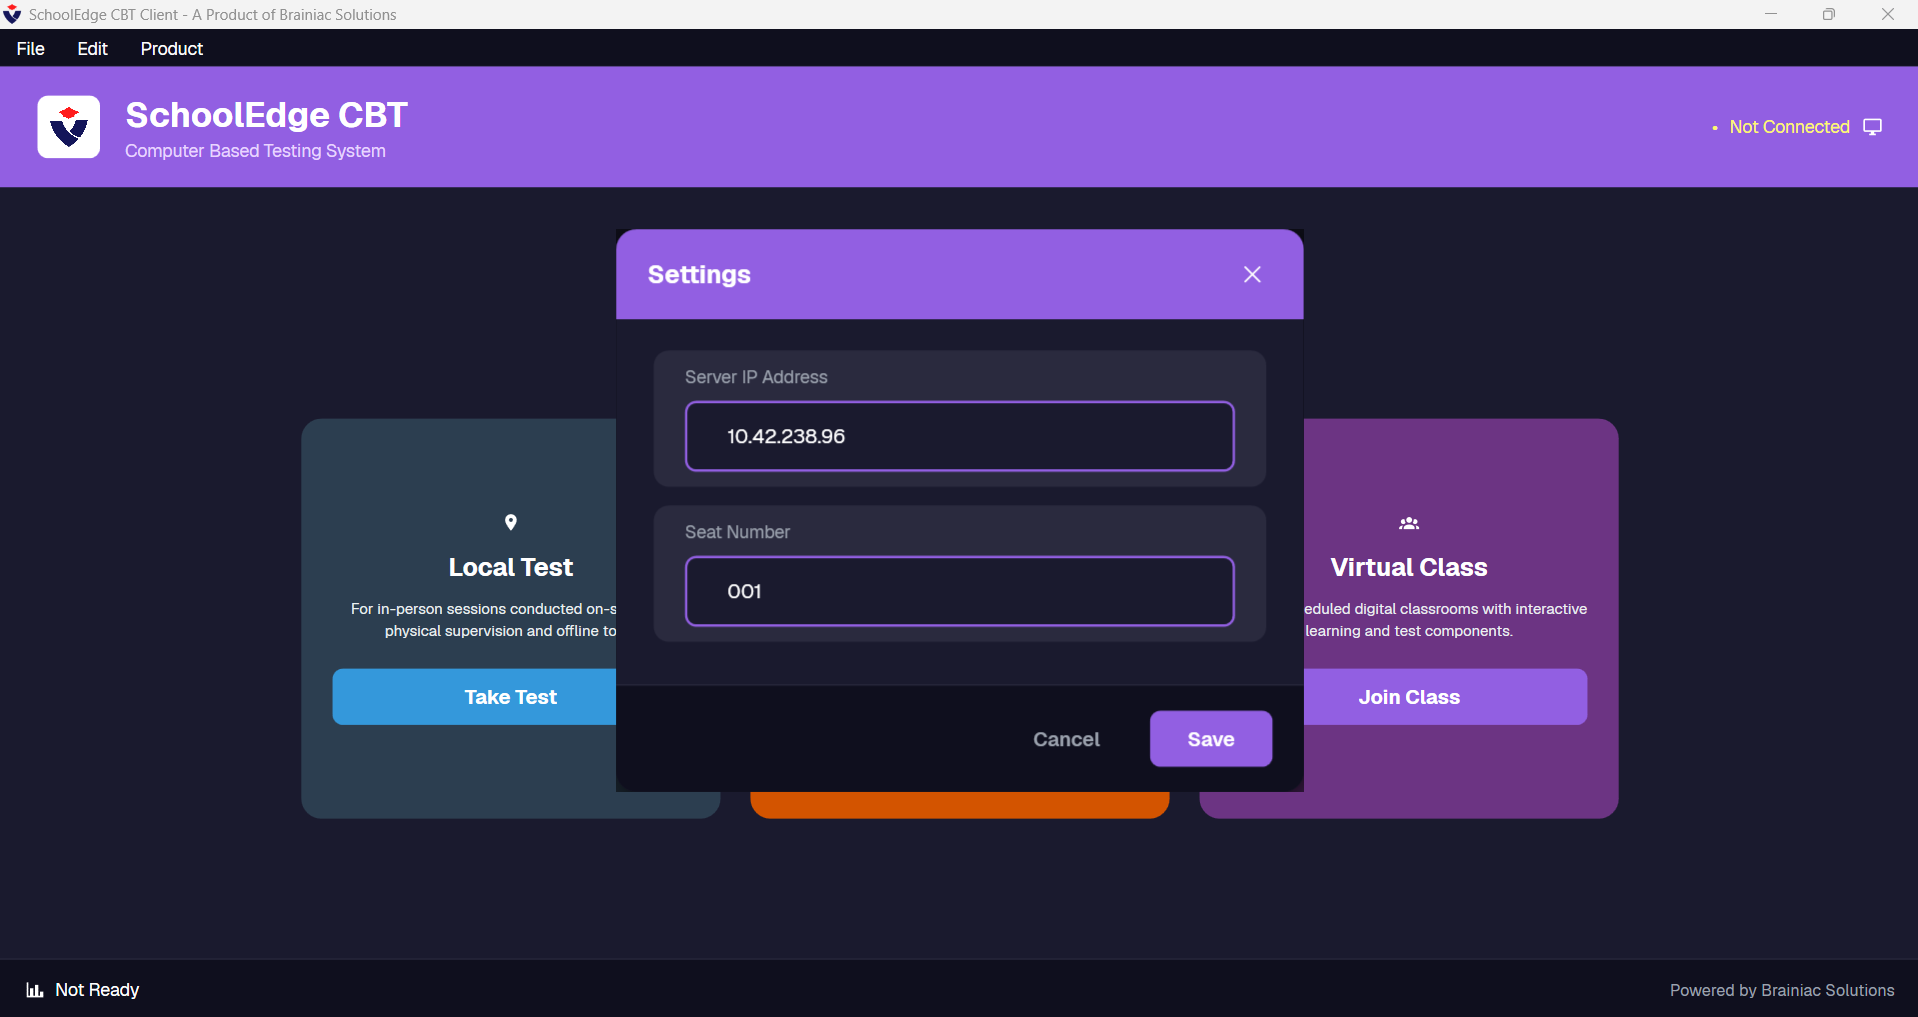
On the Client, open Settings and enter the Server IP Address.
Enter a unique Seat Number for that PC (e.g. 001, 002).
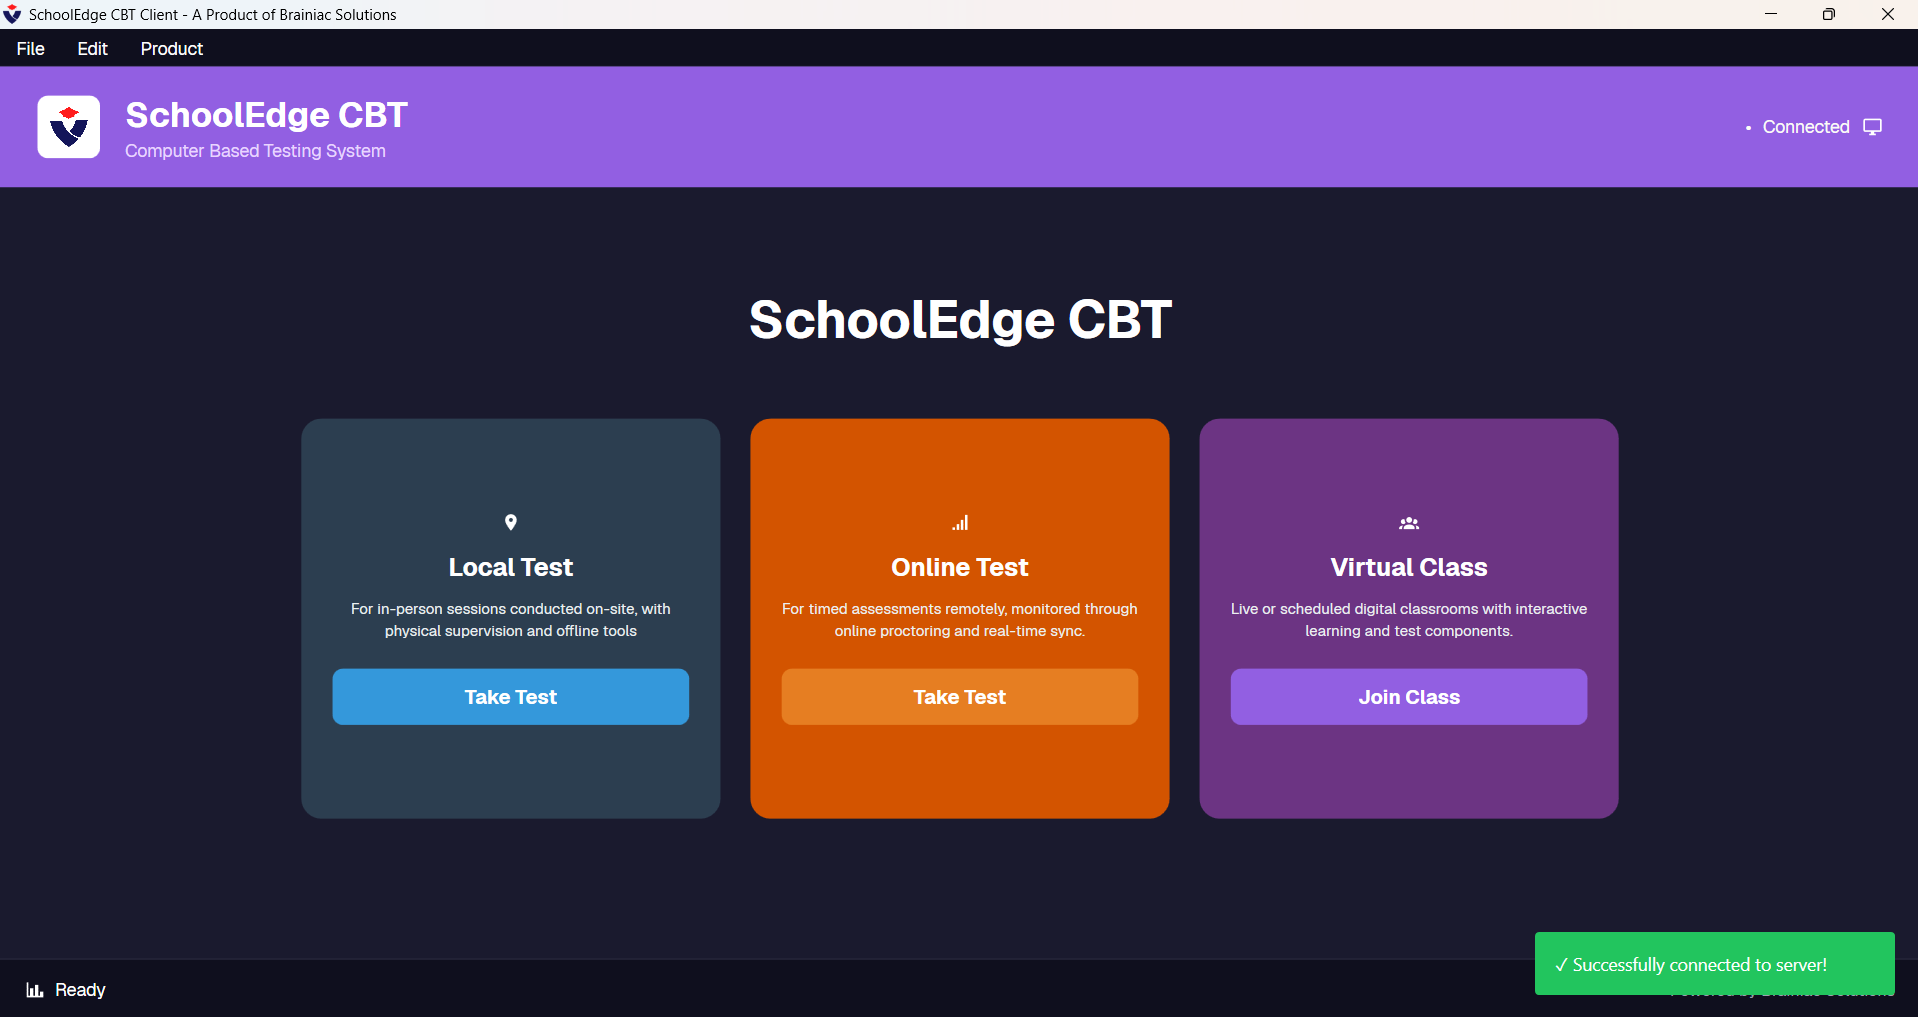
Click Save. When successful, the header shows Connected and a confirmation toast appears.
Client Settings — Server IP and Seat Number
Client home — Connected status confirmed
Client dashboard — Local Test, Online Test, and Virtual Class
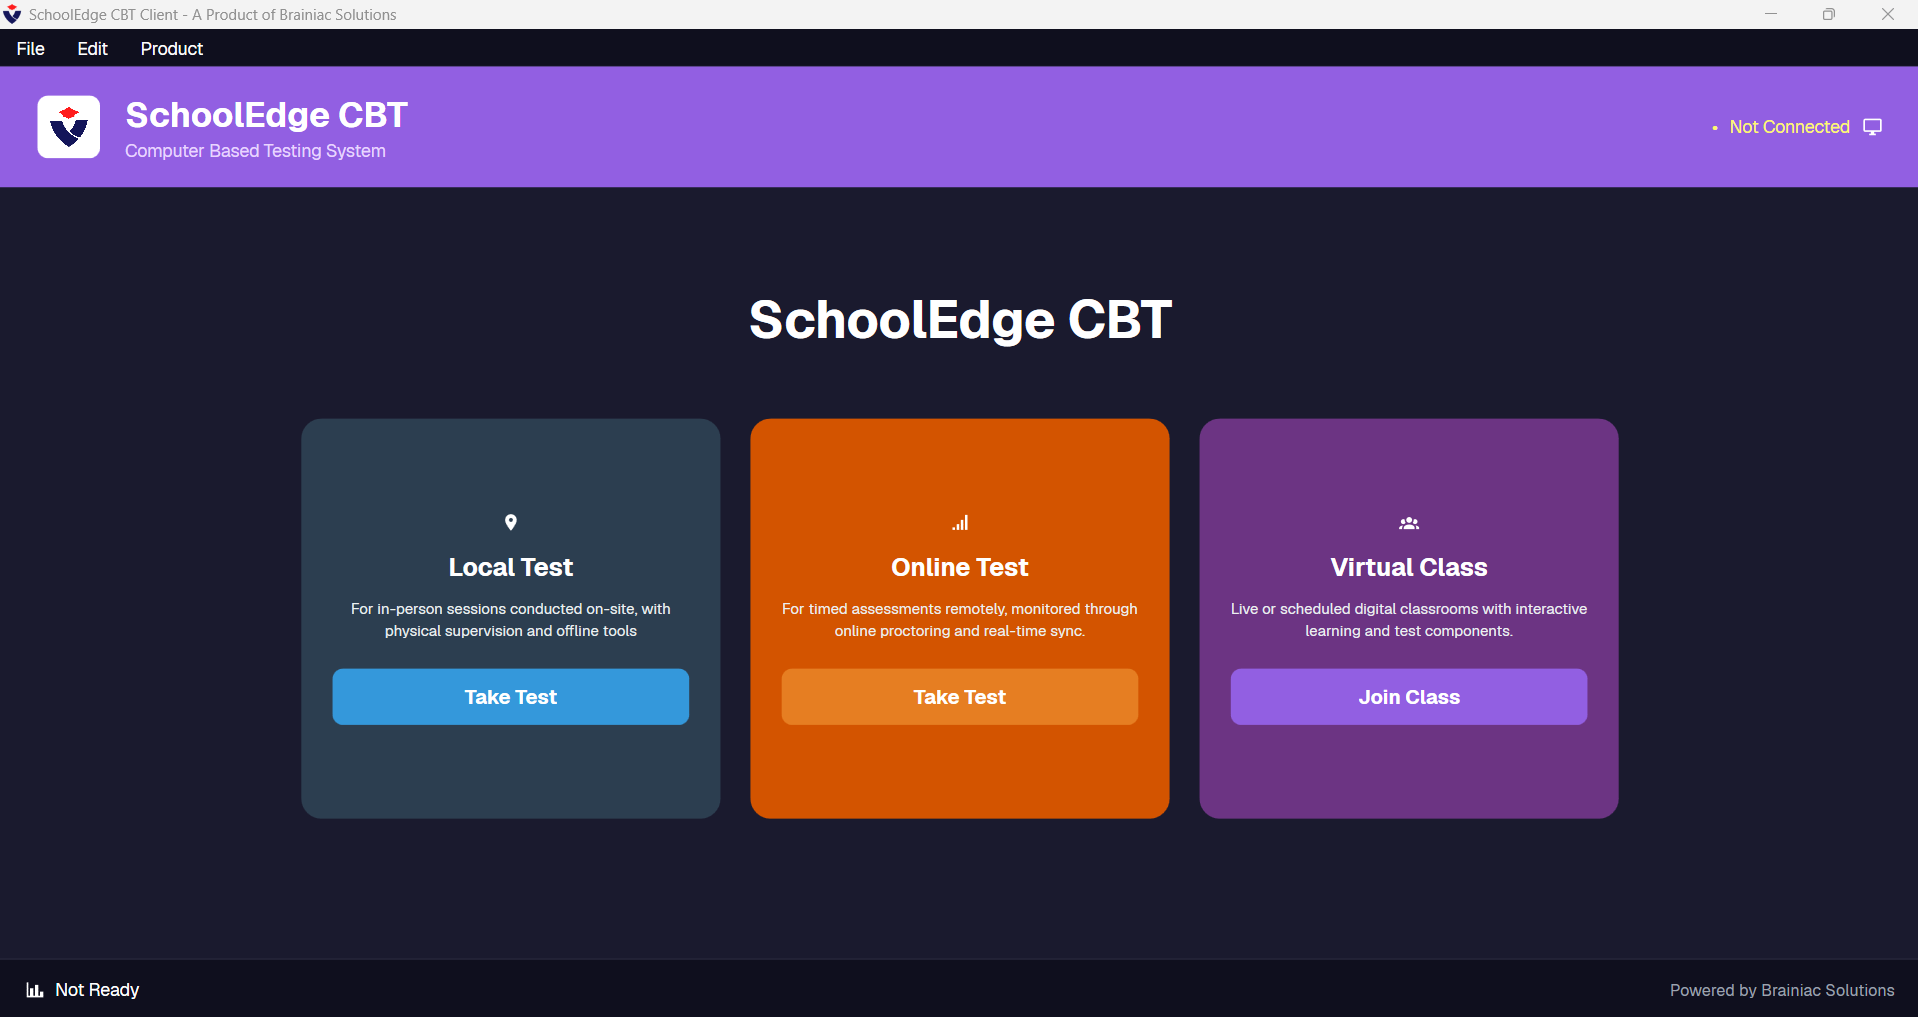
If status stays Not Connected, check that the Admin server toggle is On, both PCs are on the same network, and the IP was typed correctly (no firewall block on the Admin PC).
9. Candidate exam flow
Once the hall is connected and an exam is published, candidates work through this sequence on the Client.
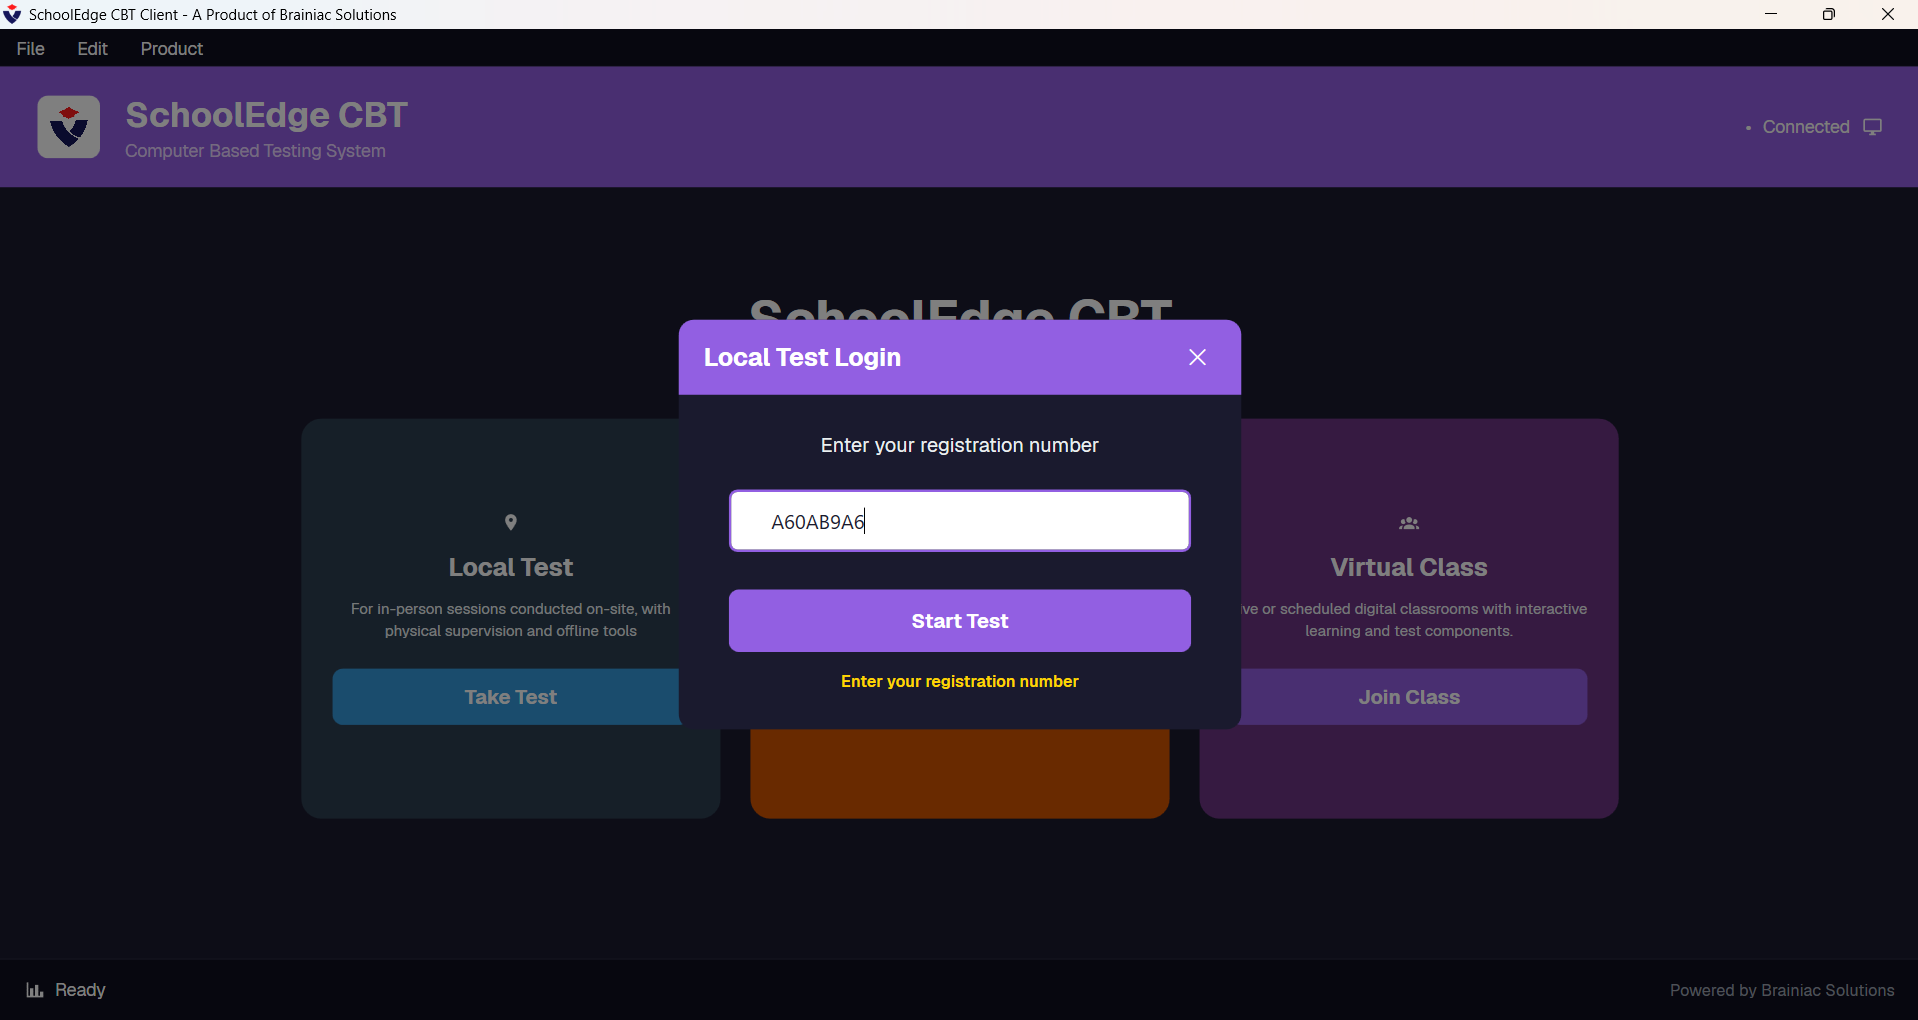
1. Candidate login with assigned credentials
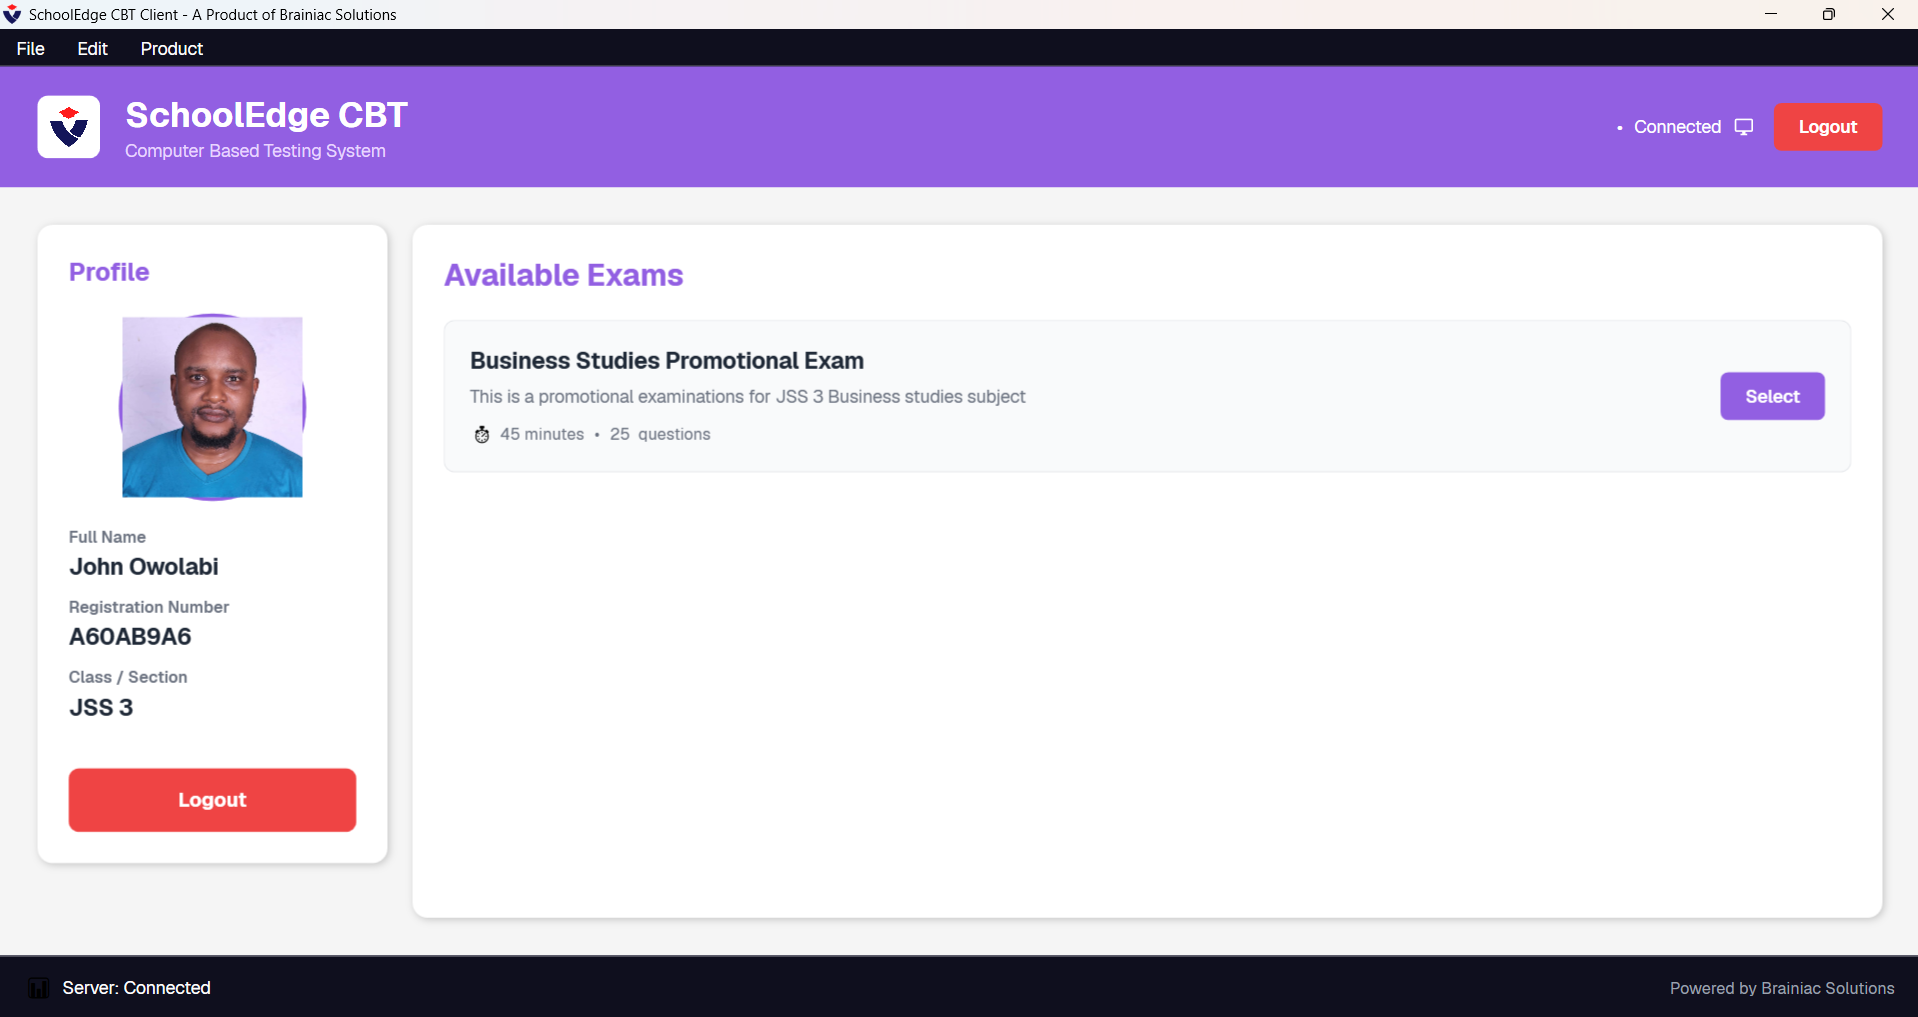
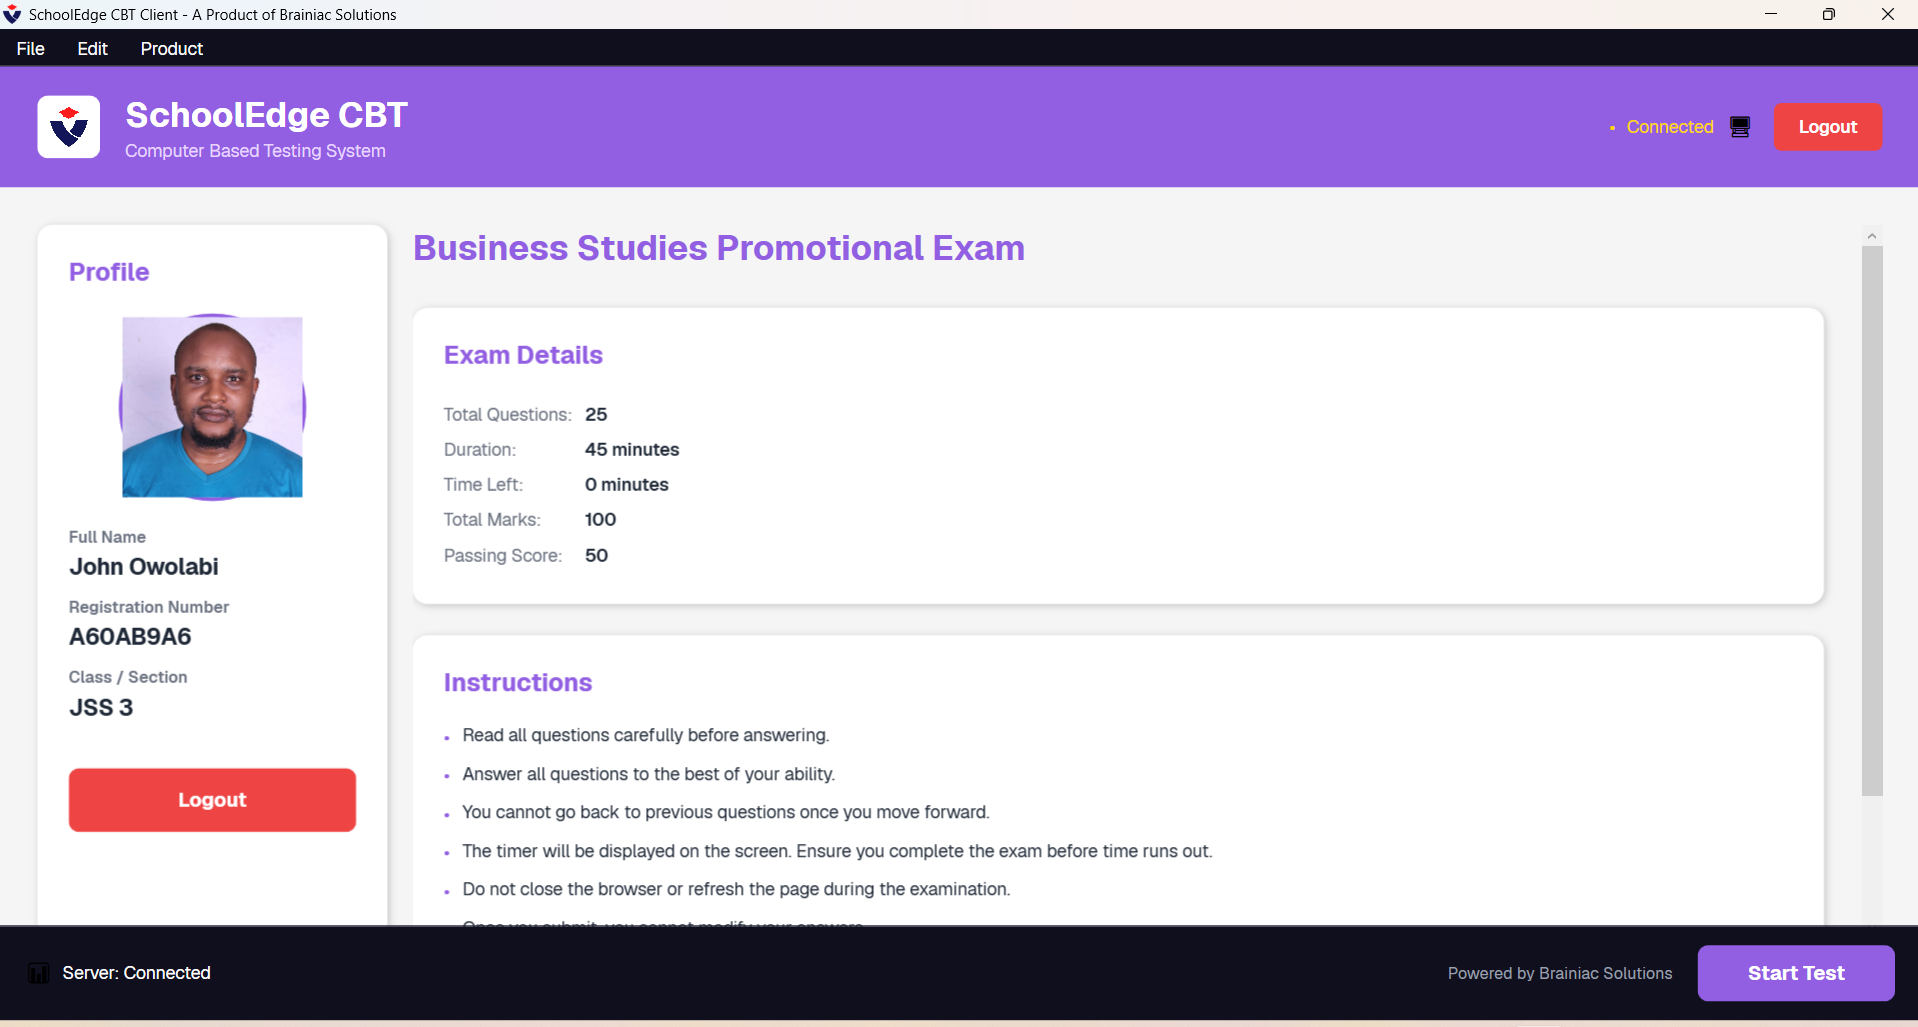
2. Exam dashboard — available tests
3. Read instructions before starting
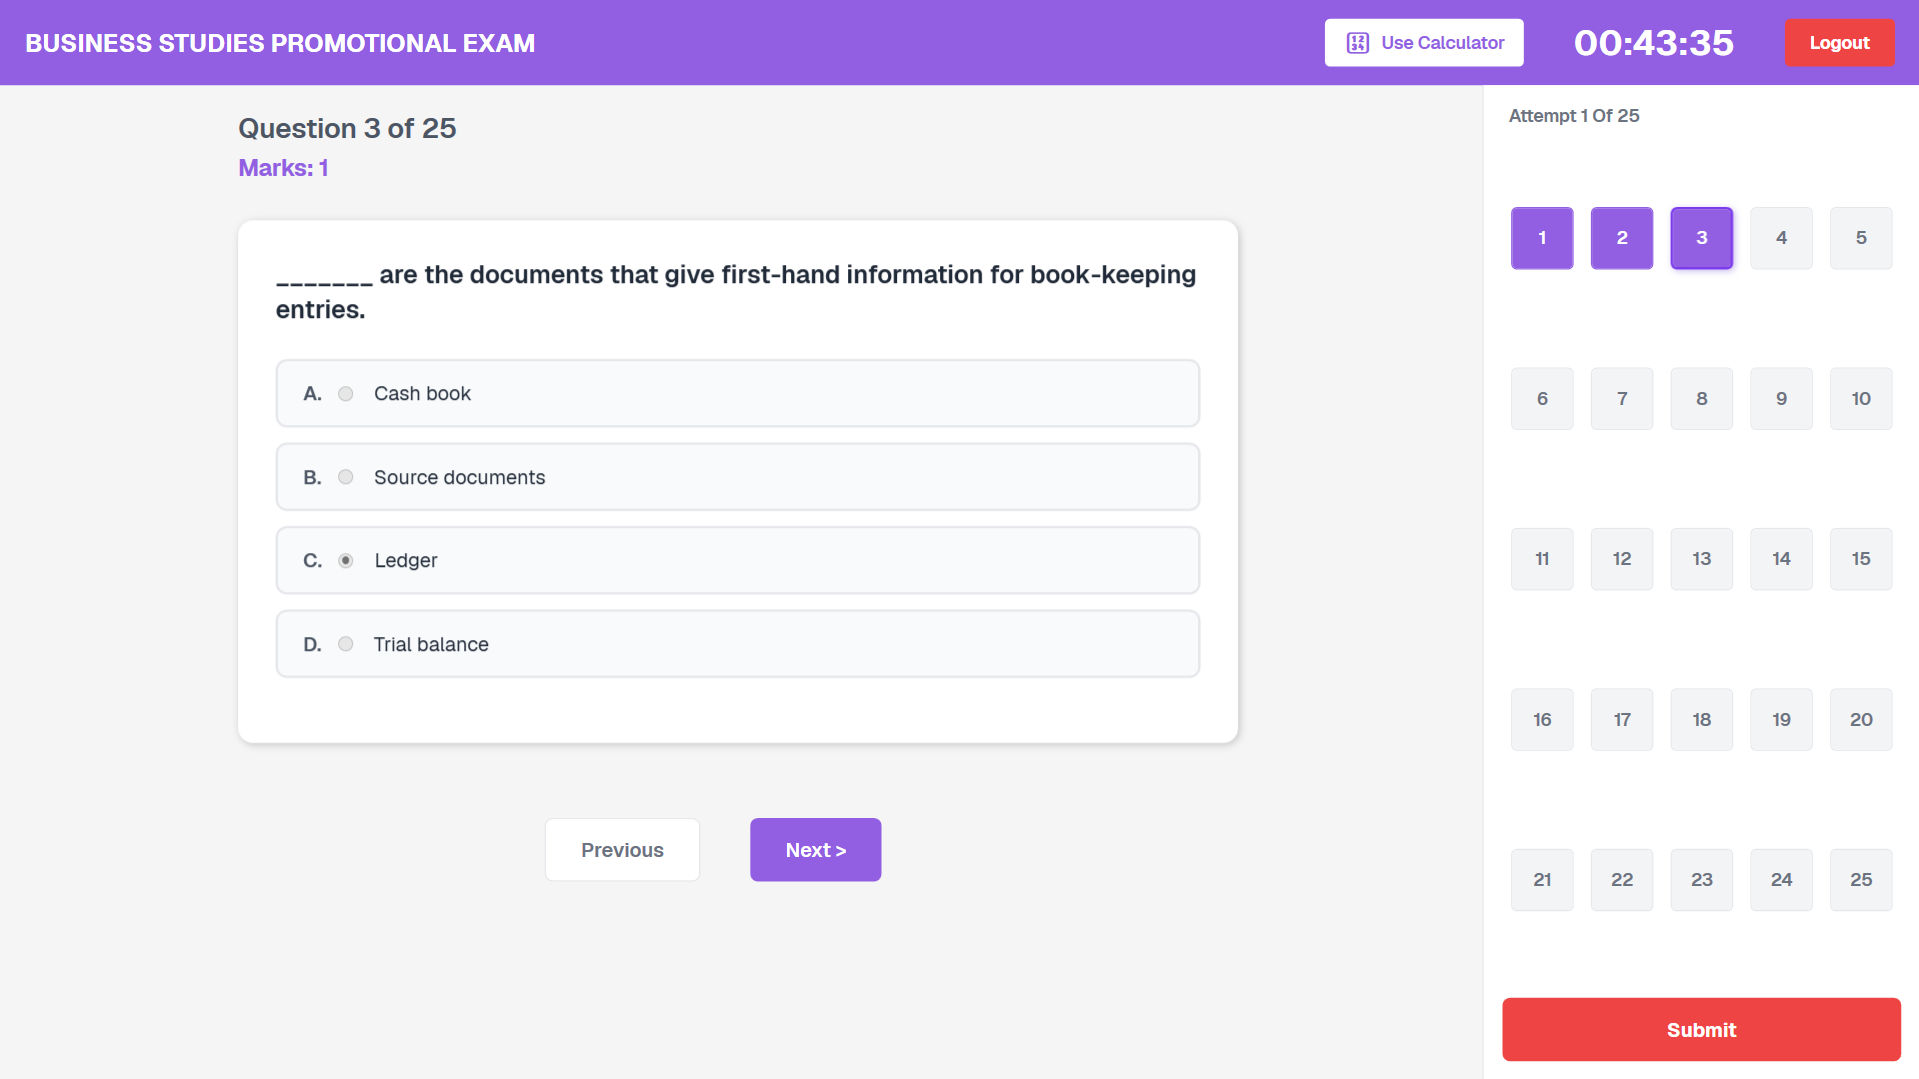
4. Live exam — answer, navigate, submit
Use Previous / Next or the question grid to move around the paper.
Watch the countdown timer in the header.
Click Submit when finished — remind candidates not to close the PC mid-exam.
Results sync back to the Admin server while the connection remains active.
10. Exam-day checklist
Admin app installed, default password changed, subscription logged in
Server toggle On; note the IP address
Candidates, staff, and exam paper prepared
Every Client connected with a unique seat number
Sample login + one dry-run question completed on a spare PC
Power and network backups ready for the Admin PC
Need help?
If installation or networking fails, contact support with your centre name, Admin IP, and a short description of the error.